

Makes: 12 pints pickled beets
Takes: 3 hours
Costs: $60
Level: Intermediate
Ingredients
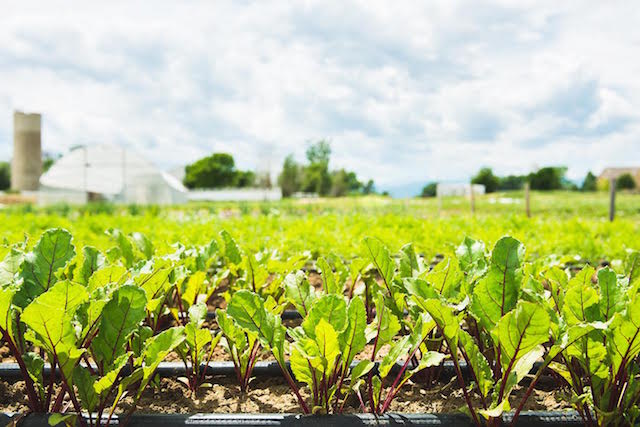
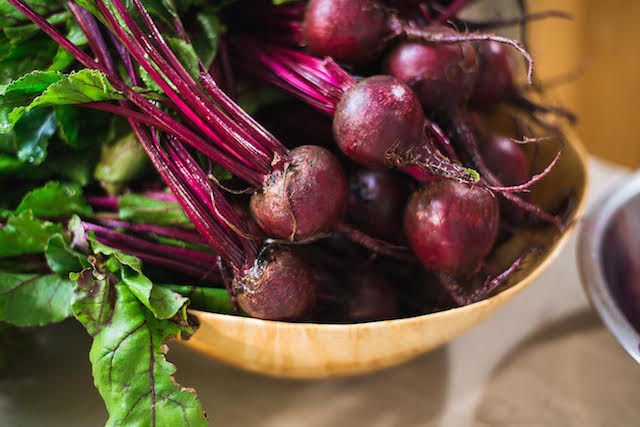
12 pounds organic whole beets
8 cups water
1 1/2 cups organic cane sugar
3 teaspoons non-iodized sea salt
1 teaspoon ground cumin
6 cups organic distilled white vinegar
1/4 teaspoon ground coriander
5 pounds ice
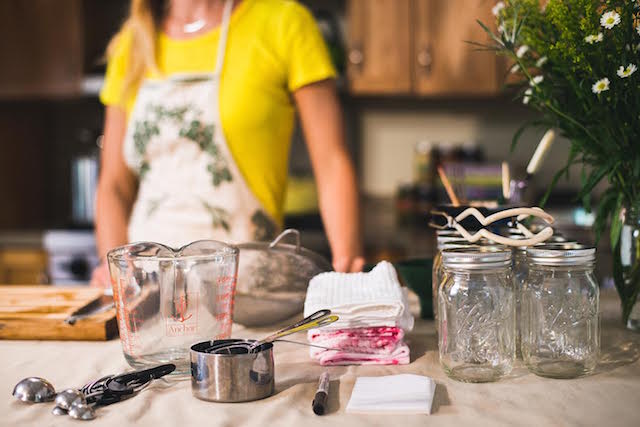
Tools
1 large canning pot
3 medium nonreactive pots, various sizes
1 large bowl, 1 medium bowl
Colander or slotted spoon
Dish towels that you’re not concerned about staining
Jar lifter
Canning funnel
Chef’s knife and paring knife
Cutting board
Small spatula or chopsticks
Forks
12-pint Ball jars, rings, and unused lids
12 labels
Indelible pen
Canning kit (optional)
Step-by-Step Process
1. Boil water in three pots. Each pot should be 3/4 full and covered to speed up the process.
• Medium pot to cook the beets
• Medium pot to prepare the brine water
•Large pot for canning
2. Wash all of the jars and other equipment with soap and hot water before beginning.
3. Prepare your work area by gathering and organizing all tools and ingredients.
4. Wash the beets with warm water to remove dirt.
5. Cut off the beet greens and add whole beets to boiling water in a medium pot using a slotted spoon or a colander with a handle for safety. If you have too many beets for the pot, prepare two or three batches.
6. Allow the beets to boil for approximately 35 minutes, or until they’re slightly “fork tender,” meaning a fork can easily slide into the beet, but the beet is not mushy.
7. While the beets are cooking, prepare the brine. Transfer exactly 8 cups of boiling water from the medium brine pot to a third medium pot, which should still be empty. Remove both pots from the heat. Cover the third pot with its lid to keep the water warm. You will prepare the brine in this new pot.
8. Add sugar, salt, coriander, and cumin to the hot brine water and mix to dissolve dry ingredients.
9. Add 6 cups of vinegar to the brine and cover the pot to keep the water warm.
10. Prepare the ice bath you will use to remove the skin from the beets when they’re finished cooking. To do so, combine ice and cold water in a large bowl or in your sink.
11. Check the boiling beets with a fork to test for tenderness. When they’re ready, remove the beets from the hot water using a slotted spoon or a colander and add the beets to the ice bath.
12. Remove skin, tops, and blemishes from the beets in the ice bath, using a paring knife as needed.
13. Use the boiling water in the large canning pot to sterilize the canning jars, rings, and lids. Use jar lifter to transfer the jars to the water. Jars should be standing up and fully submerged in the boiling water. Allow jars, rings, and lids to boil for 10 minutes.
14. Cut all beets into 1/2-inch-thick wedges.
15. Clean your work area. Use jar lifter to remove four jars from the boiling water. Take care when pouring the boiling water out of each jar before removing it from the pot. Place the jars gently on a clean dish towel on the counter.
16. Using a canning funnel, fill the jars with beet wedges. Firmly pack each jar, without smashing the beets. Leave 1/2-inch space between the top of the beets and top of the lidless jar, generally packing the beets to just below the threads of the jar.
17. Use a canning funnel to pour the brine into the beet jars. Leave a 1/4- to 1/2-inch space between the top of the liquid and the top of the lidless jar.
18. Burp the jars by using a small spatula or a chopstick to remove air bubbles. All of the beets should be completely covered with brine.
19. Remove the jar rings and lids from the boiling water with a colander or slotted spoon and secure them on the jars, tightening to fingertip tight.
20. Repeat steps 15 through 19 with the remaining jars.
21. Add a canning rack to the bottom of the large canning pot, which should still be 3/4 full of boiling water. Pasteurize the filled jars by adding them to the large canning pot. The water level should be 2 inches above the top of the jars (add more water from your additional pot of hot water as needed). Process time varies, depending on altitude, so please consult The National Center for Home Food Preservation, the Blue Book Guide to Preserving, or another trusted source.
22. Add labels to the jars using an indelible pen to note date, product, and ingredients.
23. Let the jars cool on the counter for 24 hours. Check all jars for the appropriate seal; store them in a cool, dark place; and enjoy them after three weeks but before two years.
Want to learn more and see this process in action with Ben and Vanessa from MM Local Foods? View the class on Hatch Lab. In 45 minutes, you’ll learn how to pickle with confidence!
~
Author: Mara Rose
Editor: Caroline Beaton


Read 0 comments and reply